Learn how to convert a blog post into clean mobile app code with practical steps, component mapping, and rendering strategies for React Native and Flutter.
How to Format a Blog Post Into Mobile App Code
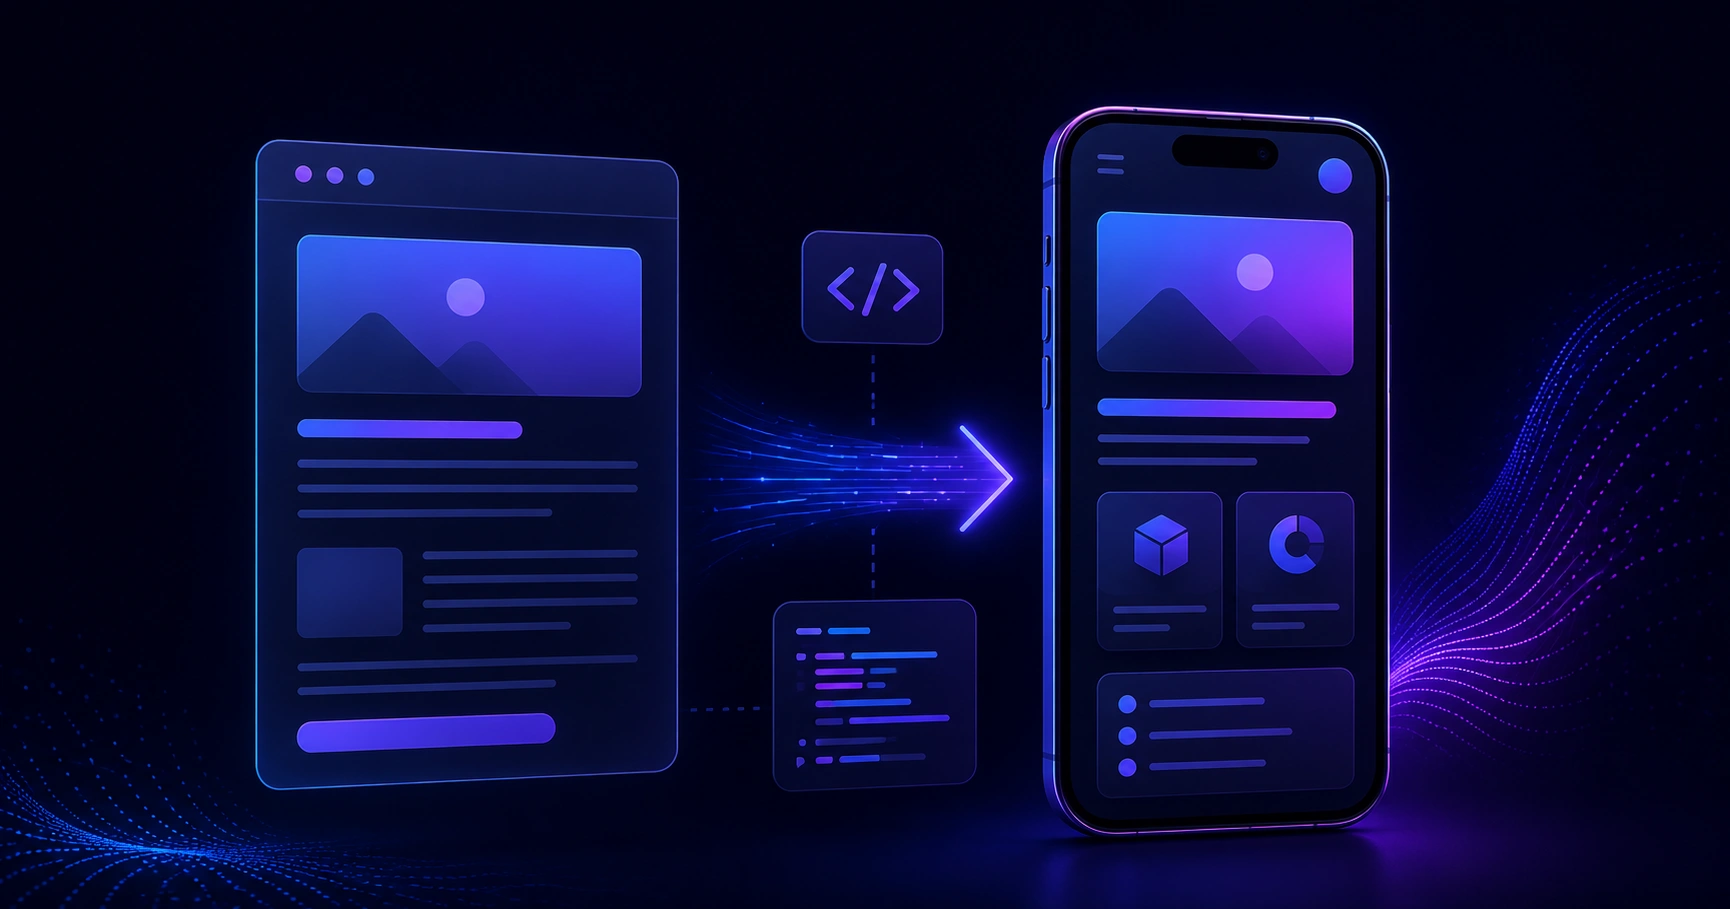
If you have ever stared at a well-structured blog post and wondered how to get that content living inside a mobile app, you are not alone. Developers, content teams, and startup founders face this challenge constantly — especially as businesses push to deliver content natively on iOS and Android instead of redirecting users to a browser. The good news is that formatting a blog post into mobile app code is a learnable, repeatable process. Whether you are building in React Native, Flutter, or Swift UI, the principles remain the same: parse structure, map components, handle media, and render cleanly across screen sizes. This guide walks you through every step, from reading a raw blog post to shipping pixel-perfect content in a mobile app.
Why Converting Blog Content to Mobile App Code Matters
Blog posts are built for browsers. They rely on HTML tags, CSS stylesheets, and JavaScript rendering. Mobile apps, however, run on native SDKs or cross-platform frameworks that do not natively understand raw HTML. When a business decides to build a content-driven app — a news reader, a knowledge base, a company blog app — the content team has usually been writing in Markdown, WordPress, or a headless CMS for years. Bridging that gap cleanly is what separates a polished product from a janky webview wrapper.
There are three core reasons to invest in proper formatting rather than just embedding a WebView:
- Performance: Native rendering is faster and smoother than a browser inside a frame.
- User experience: Fonts, spacing, and images follow platform conventions automatically.
- Offline support: Native components can cache and render without an internet connection.
If your business already produces long-form content, working with a professional team at ZoneTechify can help you build an architecture that serves both your web audience and your mobile users from a single source of truth.
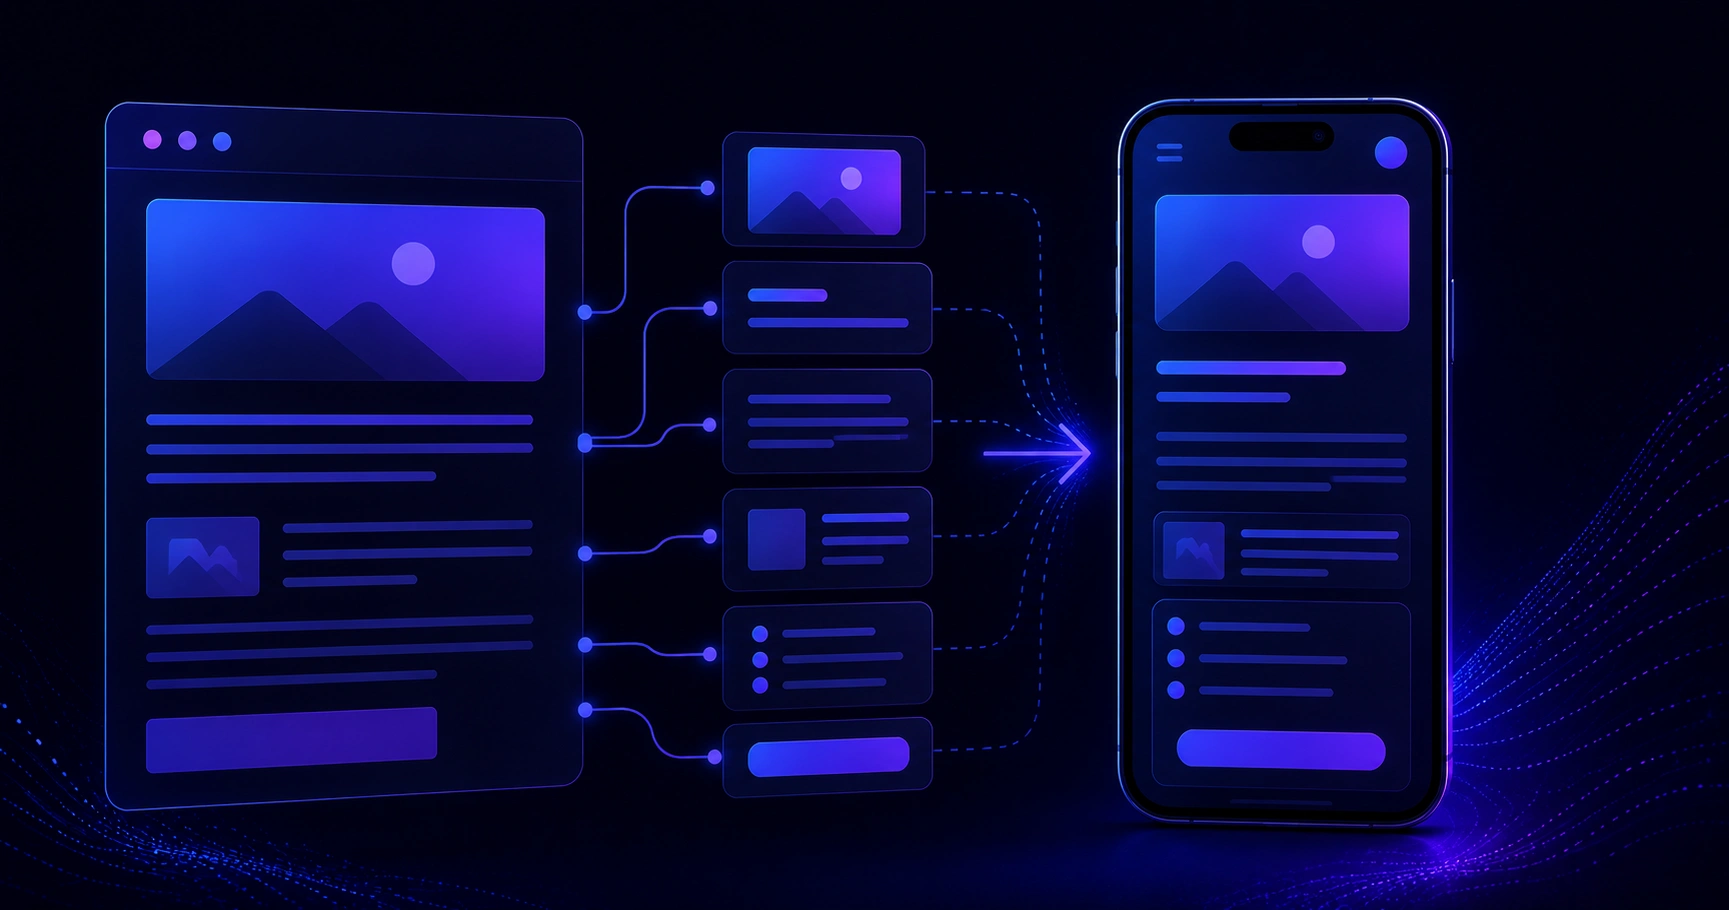
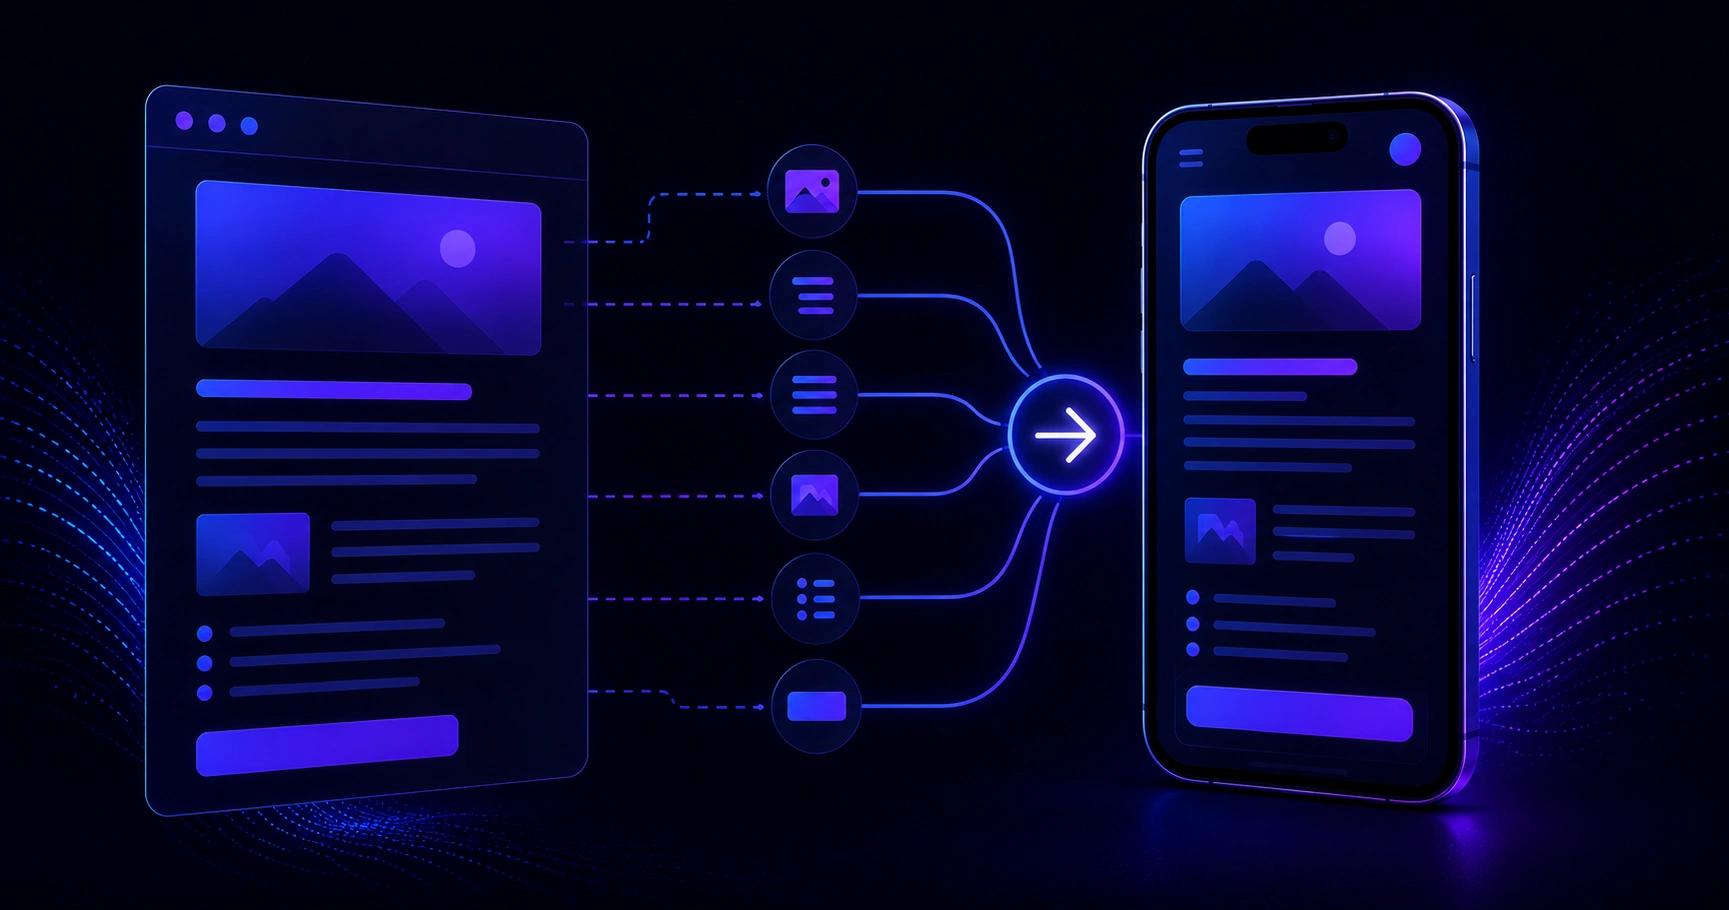
Step 1 — Understand the Structure of a Blog Post
Before writing a single line of code, you need to audit what a blog post is actually made of. Strip away the design and you will find a predictable hierarchy:
- H1: The main title
- H2 / H3: Section and subsection headings
- Paragraphs: Body text in plain prose
- Ordered and unordered lists: Steps, tips, bullet points
- Images: Inline media with alt text and captions
- Blockquotes: Pull quotes or highlighted content
- Bold and italic: Inline emphasis
- Links: Internal and external anchor tags
- Code blocks: For technical blog posts
This structure maps almost one-to-one to mobile UI components. The moment you see each element as a component rather than styled text, the path forward becomes clear.
Step 2 — Choose Your Data Source and Parsing Strategy
The way you get blog content into your app depends on where that content lives.
Option A: Headless CMS with JSON API
Platforms like Contentful, Sanity, and Strapi deliver blog content as structured JSON. Each field — title, body, images, tags — arrives as a discrete key. This is the cleanest path. Your app fetches the JSON, deserializes it, and passes values to components directly.
Option B: Markdown Files
Many developer blogs and documentation sites store content as .md files. You will need a Markdown parser on the mobile side. In React Native, libraries like react-native-markdown-display handle this well. In Flutter, the flutter_markdown package covers most standard Markdown syntax.
Option C: HTML from a WordPress or Legacy CMS
This is the most common and the messiest. WordPress REST API returns post content as raw HTML strings. You have two options here: parse the HTML on the backend and convert it to a clean JSON format, or render it client-side using an HTML renderer. Libraries like react-native-render-html make this workable, but you will still need to sanitize inputs and map custom styles.
For production apps with significant traffic, parsing on the backend is always preferred. It keeps the app lightweight and gives you control over the final data shape.
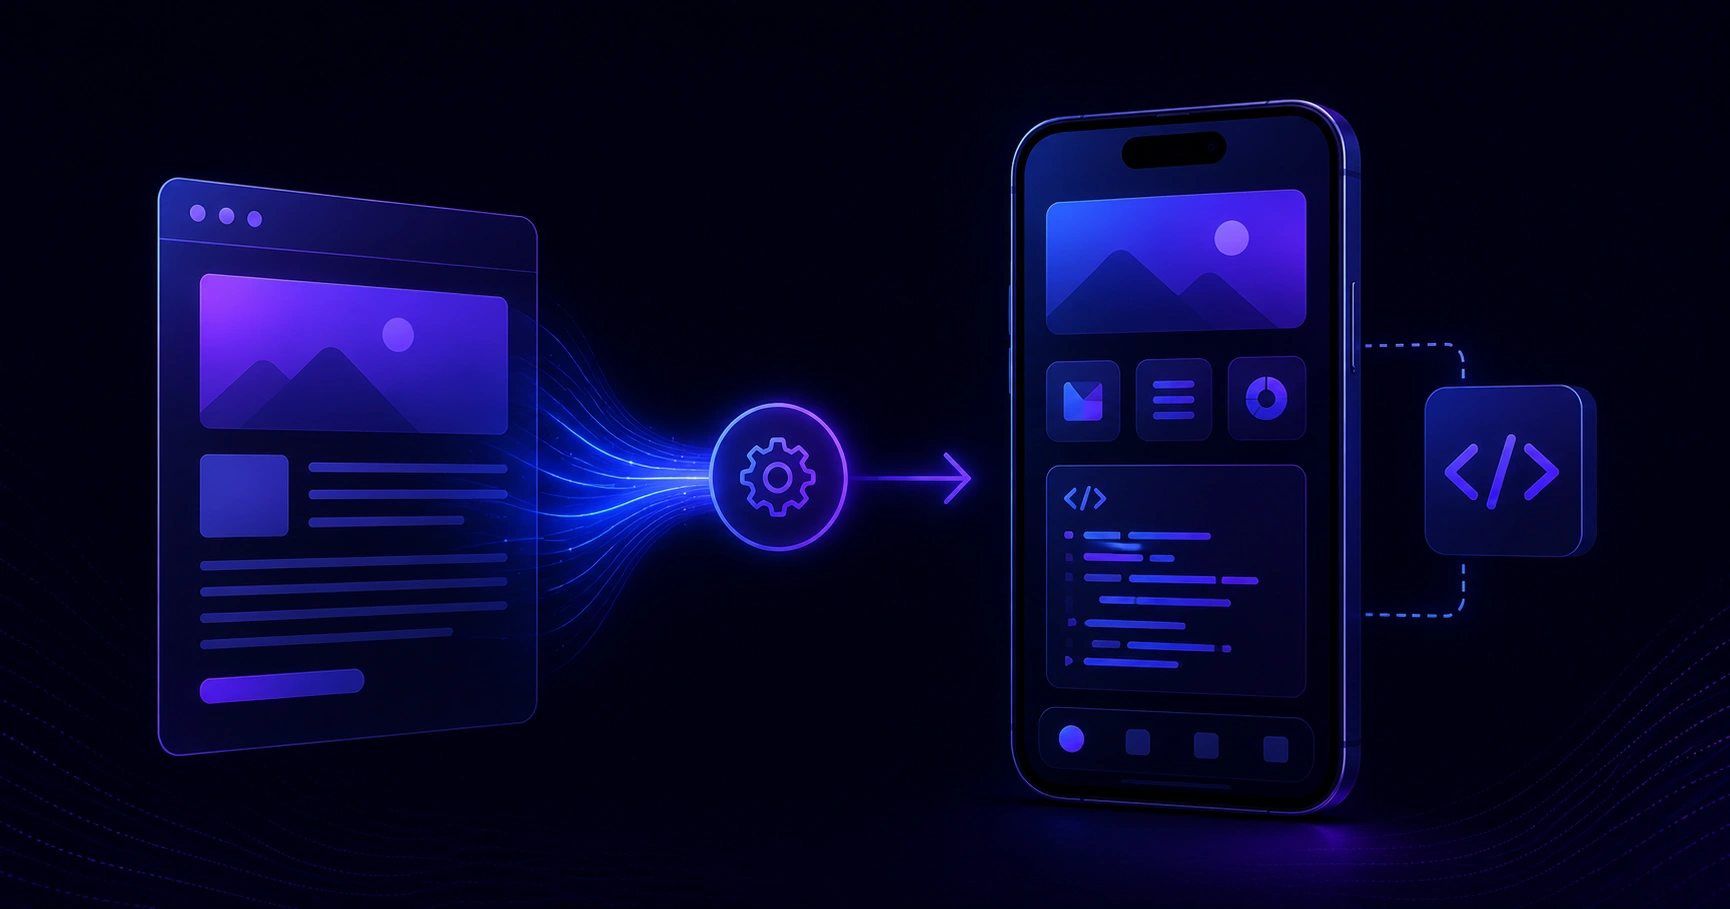
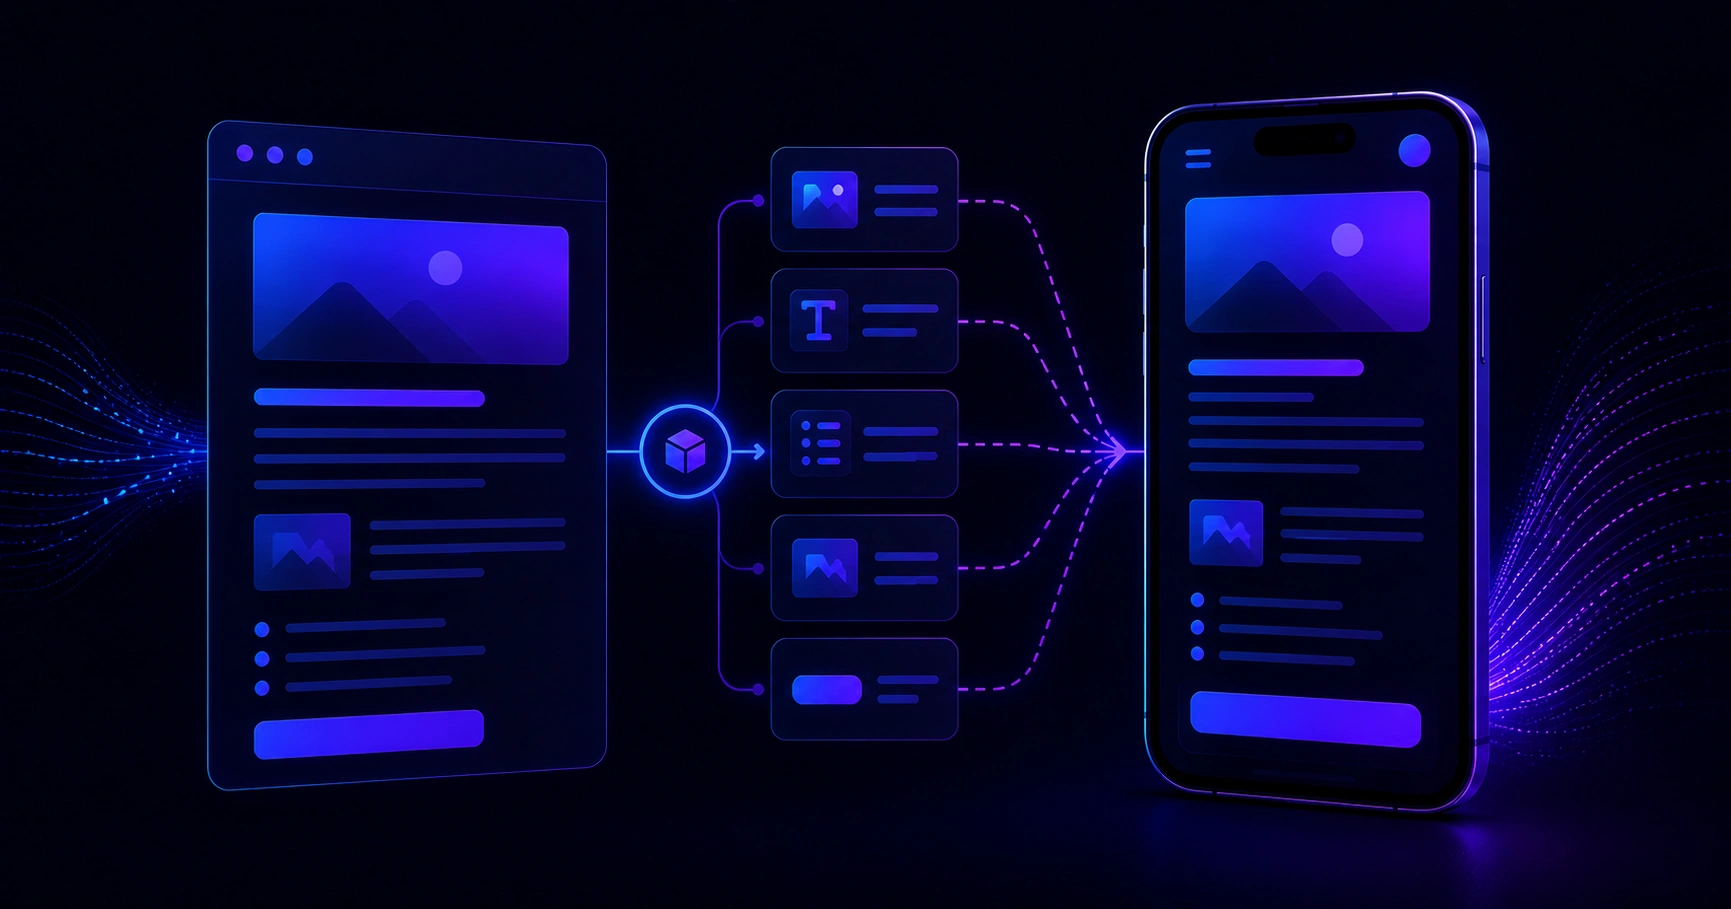
Step 3 — Map Blog Elements to Mobile Components
This is the heart of the process. Every blog element needs a counterpart in your mobile component library.
| Blog Element | React Native Component | Flutter Widget | |||| | H1 Title | Text (style: h1) | Text (style: headline1) | | H2 Heading | Text (style: h2) | Text (style: headline2) | | Paragraph | Text | Text | | Unordered List | FlatList with bullets | ListView with bullets | | Ordered List | FlatList with numbers | ListView with numbers | | Image | Image + FastImage | Image.network | | Blockquote | View with left border | Container with decoration | | Bold / Italic | Text with fontWeight | Text with fontStyle | | Code Block | ScrollView + monospace Text | SingleChildScrollView + Text | | Hyperlink | Pressable + Linking.openURL | GestureDetector + url_launcher |
Building this mapping table for your specific project before touching the renderer saves hours of rework. Treat it as a component contract between your content team and your development team.
Step 4 — Handle Images Properly
Images are where most blog-to-app conversions break down. A blog post may include images with absolute URLs, relative paths, varying dimensions, and no explicit aspect ratios in the data. On a mobile screen, an unsized image will either collapse to zero height or stretch unpredictably.
Best practices for images in mobile blog content:
- Always fetch image dimensions before rendering or use a fixed aspect ratio container.
- Use lazy loading — load images only when they scroll into the viewport.
- Serve WebP format from your CDN for faster load times on mobile networks.
- Include meaningful alt text in your data model; it improves accessibility and is already in well-written blog posts.
- Use a caching library. In React Native, react-native-fast-image is the industry standard. In Flutter, cached_network_image handles this elegantly.
If your blog images live on a WordPress media library or a cloud storage bucket, consider running them through an image optimization pipeline before your app requests them. This reduces load time and data usage for your users.
Step 5 — Build the Blog Post Renderer Component
With your data model clean and your component map defined, you can build a recursive renderer. The logic is simple: iterate over an array of content blocks, check the type of each block, and render the matching component.
This renderer is framework-agnostic in concept. In React Native, each function returns a JSX element. In Flutter, each branch returns a Widget. The key advantage of this approach is extensibility — adding a new content type means adding one branch to the renderer, with no changes to existing components.
Step 6 — Typography and Spacing for Mobile Readability
A blog post formatted for desktop reading will feel cramped or oversized on a phone screen. Mobile typography follows different rules:
- Body font size: 15–17sp (Android) or 15–17pt (iOS) is the readable sweet spot.
- Line height: Set at 1.5–1.6× the font size to prevent text from feeling dense.
- Paragraph spacing: Add 12–16dp between paragraphs to give content room to breathe.
- Heading scale: Use a modular type scale — H1 at 24pt, H2 at 20pt, H3 at 17pt works well on most device sizes.
- Max line length: On wider tablets, cap text containers at around 680dp to maintain comfortable reading line lengths.
Consistency here matters more than creativity. Users reading a blog post in an app expect a clean, distraction-free experience similar to apps like Medium or Substack. Benchmark your typography against those experiences.
Step 7 — Test Across Devices and Content Variations
The final step before shipping is rigorous testing. Blog content is unpredictable — writers do not always follow structural conventions. Your renderer needs to handle posts with no images, posts with back-to-back headings, very long paragraphs, special characters, embedded links inside list items, nested lists, and code blocks with very long lines that require horizontal scrolling.
Test on at least one low-end Android device with a smaller screen and on a current iOS device. Performance gaps between flagship and budget hardware reveal themselves quickly when rendering text-heavy content.

Bringing It All Together With Professional Development Support
Converting blog content to mobile app code is a process that rewards planning. When the data model is clean, the component map is agreed upon, and the renderer is built with extensibility in mind, new content types integrate in minutes rather than days. The result is a mobile reading experience that feels native, loads quickly, and scales as your content library grows.
For businesses looking to build this kind of content-driven mobile experience without starting from scratch, the mobile app development services at ZoneTechify cover everything from architecture planning to full cross-platform delivery. Whether you are migrating an existing blog into an app or launching a new content platform from day one, having an experienced team behind the architecture makes a measurable difference in both timeline and output quality.
The process is not magic — it is structure. And structure, once understood, turns a wall of blog prose into a responsive, beautiful mobile experience your users will return to every day.